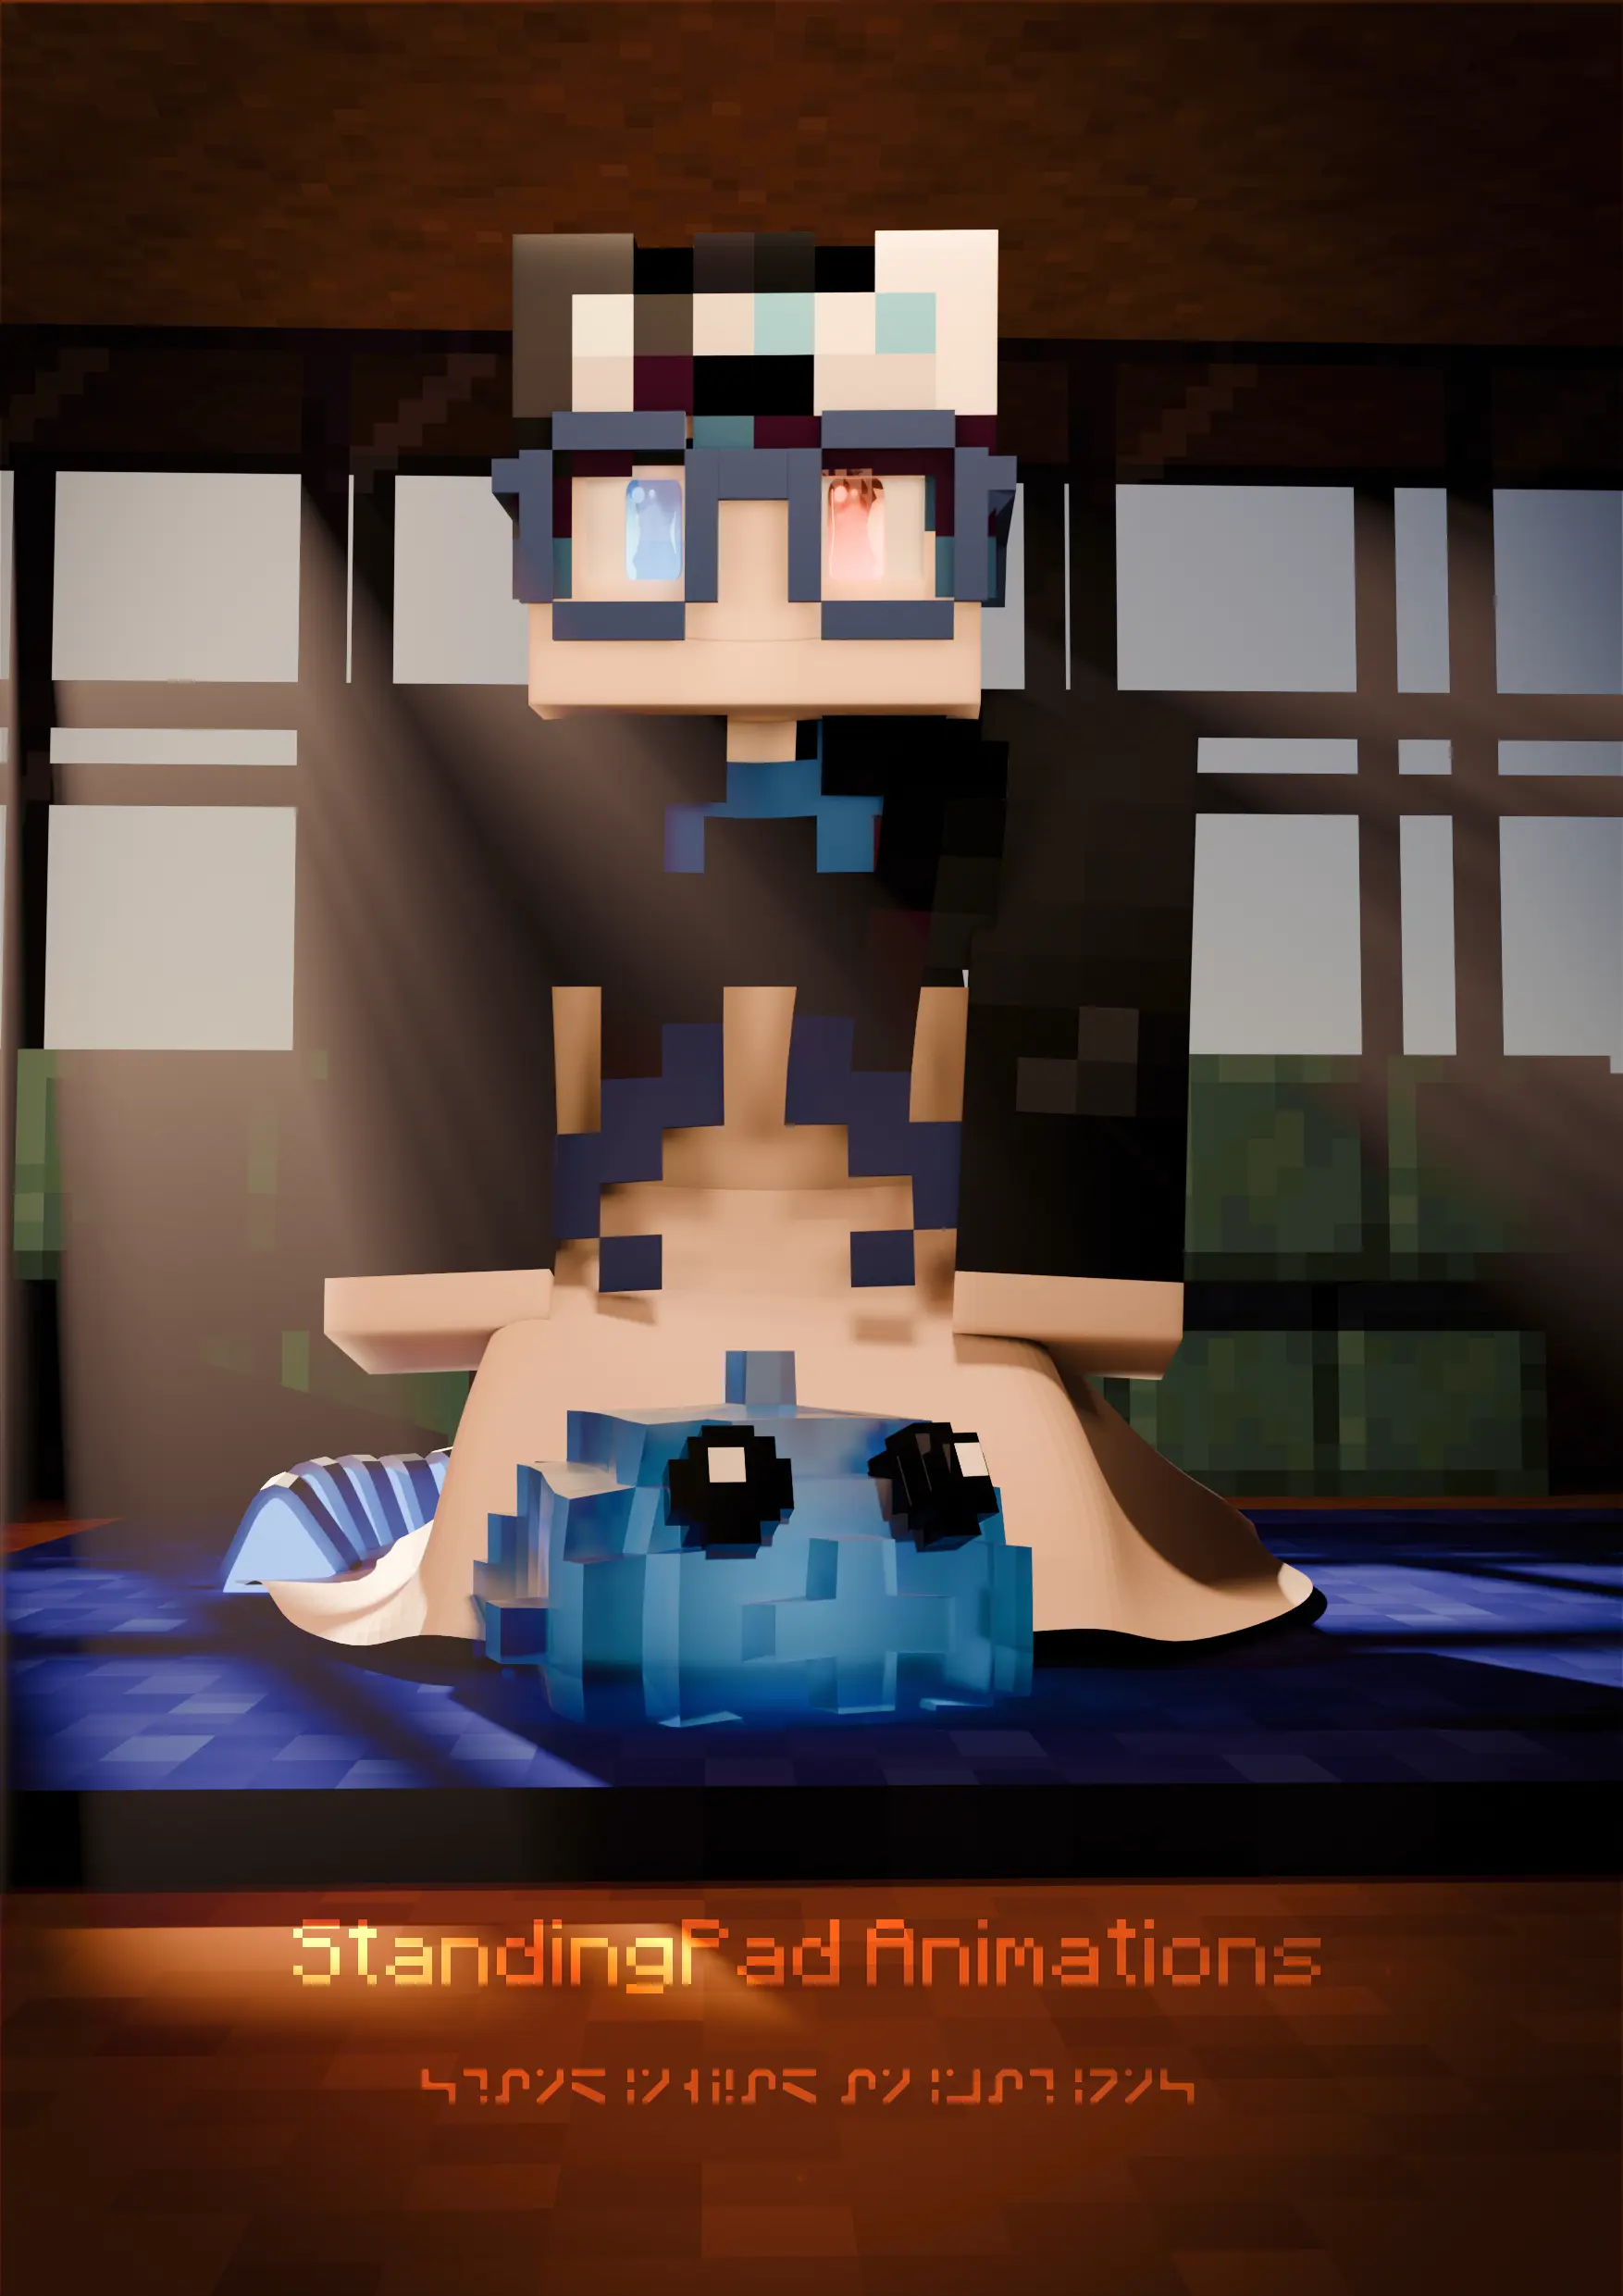
I know I said I would post one final render on Instagram (and here) later last week, but some things came up, so here y’all go (also welcome if this is your first time on my website):
Normally I’d go into the specifics on how I made it, but as I mentioned in the last post (see below), I don’t have access to my files (long story, see below), so I can’t take any screenshots to show what I’ve done.
Nonetheless, I’ll try to explain through writing. For this render, I tried 2 new techniques:
- Light linking (a Blender 4.0 feature)
- Black and white balancing
Light linking is a new Cycles feature in Blender 4.0 that allows isolating the objects a light can influence. This is big for character lighting, as it allows for more options to light and seperate characters from backgrounds better, without impacting the rest of the scene. It’s a feature that’s been around in other 3D programs for at least a decade now, and has only just gotten implemented in Blender.
Black and white balancing meanwhile is exactly what it sounds like, balancing black and white. This is done by adding a color chart to the scene, sample the black and white parts of the chart (i.e. pick black and white on the color chart using the color picker), and setting the black and white levels to those values. With black and white balancing, I was able to make the render overall feel less “stabby” and easier to color grade.
That’s really all I have, cya!